I CT For


Check 'Em!


My Blinkies!

Peaches Blog Train!

My Avatars (DO NOT SNAG)


Friday, June 14, 2013
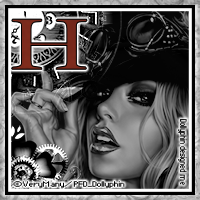
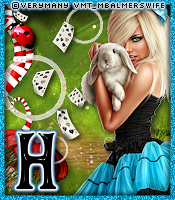
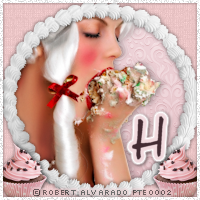
*New* CT PTU Tutorial "Posh Pup"

This tutorial was written assuming you have a working knowledge of PSP. Any resemblance to another tutorial is purely coincidental.
SUPPLIES
:|: Tube :|:
I used an adorable tube by Maryline Cazenave. You can purchase her tubes at CDO.
:|: Kit :|:
I am using a PTU tube by PinkParadoxProductions called "Posh Pets." You can purchase this kit at PicsForDesign.
:|: Mask :|:
I used WSL_Mask249. You can find it at weescotslasscreations.
:|: Template :|:
I used missy_tagtemplate111. You can find it at DivineIntentionz.
:|: Plugins :|:
EyeCandy4000 - Gradient Glow + Glass
:|: Fonts :|:
:|: Elements :|:
PPP-Posh Pets-E6
PPP-Posh Pets-E12
PPP-Posh Pets-E15
PPP-Posh Pets-E21
PPP-Posh Pets-E24
PPP-Posh Pets-E25
PPP-Posh Pets-E40
PPP-Posh Pets-E41
PPP-Posh Pets-E45
PPP-Posh Pets-E47
PPP-Posh Pets-E48
PPP-Posh Pets-P2
PPP-Posh Pets-P4
PPP-Posh Pets-P5
Let's Get Started!
Open missy's template, SHIFT+D to duplicate and close the original template. Delete the watermark, rectangle and square layers, leaving you with just the circles and shapes layers. Copy/paste/resize/sharpen PPP-Posh Pets-P5 above "circle1" layer. Activate "circle1" layer - Selections - Float - Defloat - Invert, activate P5 layer and hit delete on the keyboard to delete excess paper. Copy/paste/resize/sharpen PPP-Posh Pets-P4 above "circle2" layer. Activate "circle2" layer - Selections - Float - Defloat - Invert, activate P4 layer and hit delete to erase excess paper. Now activate "shape1" layer - Selections - Float - Defloat. Add a new raster layer and flood fill inside the ant lines with #b5b5b5. Effects - Plugins - EyeCandy4000 - Gradient Glow with the following settings:


Now activate the "shape2" layer - Selections - Float - Defloat. Add a new raster layer and flood fill inside the ant lines with #212121. Add a dropshadow. Now open up all of your elements, resize/sharpen and place where desired, using my example to help you out. Add a dropshadow to all the elements. Now open your tube and copy/paste/resize/sharpen as preferred. Now copy/paste PPP-Posh Pets-P2 right above the background layer. Layers - Load/Save Mask - Load Mask From Disk and select WSL_Mask249. Now add your name and copyright, crop and your done! Send me examples of tags made with this tutorial!
Subscribe to:
Post Comments
(Atom)
About Me

- Hayleigh
- Oklahoma
- I'm a 30 year old SAHM to 3 adorable boys and newlywed to a wonderful husband. I've been using PSP for 9 years.
CU Licenses
Stamps

0 comments:
Post a Comment