I CT For


Check 'Em!


My Blinkies!

Peaches Blog Train!

My Avatars (DO NOT SNAG)


Wednesday, December 25, 2013
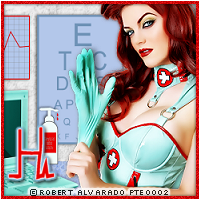
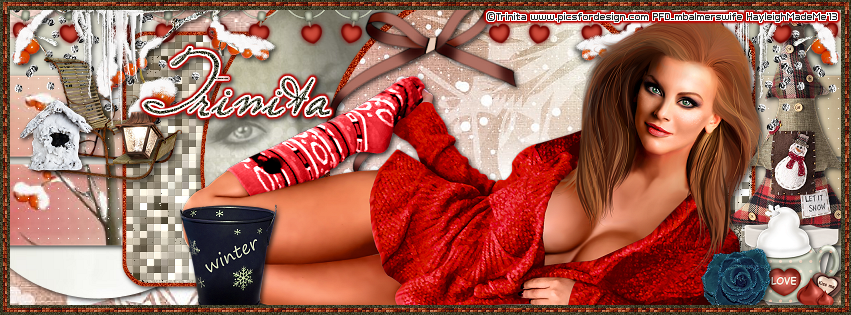
PTU Tutorial "Green Eyes" ©Trinita

Supplies Needed
- Paint Shop Pro (I use PSP X3 but any version will work)
- Tube of Choice (I used "Green Eyes" by Trinita. This tube may not be used without proper license. Find the tube at PicsforDesign.)
-Template 05mpmFBTL by Millie; find all of her wonderful templates HERE.
- Kit: "Winter Fun" by Hania's Designs. This kit is a PTU kit, please do NOT share it.
- Plugins Used: Xero - Fritillary, Penta.com - Dot & Cross
- Font of Choice (I used Plaster of Paris)
- Elements: 3, 16, 21, 25, 30, 32, 48, 64, 79 & 91 - Papers: 3, 4, 5, 7 & 10
All elements may need to be resized & sharpened to your liking. Please add a dropshadow of your choosing to each element as you go. Some abbreviations I use in this tutorials are c/p/r/s (copy & paste, resize & sharpen).
Open up your template and press CTRL + D to duplicate and close the original. Delete the credit layer of the template. Highlight the "background" layer and c/p/r/s paper 10, deleting any excess paper. Highlight "#1" layer, c/p/r/s paper 7, invert and delete any excess paper. Highlight "#2" layer, c/p/r/s paper 4, invert and delete excess paper. Apply Dot & Cross with these settings: 255, 10, 7. Highlight "#3" layer, c/p/r/s paper 3, invert and delete excess paper. Apply Xero - Fritillary with the following settings: 7, 121, 32, 78. Expand by 4, add new raster layer & flood fill with #a22900. Apply Add Noise Effect with these settings: 35, uniform & monochrome checked.
Highlight "#4" layer and repeat steps for #3 layer. Highlight "#5" layer c/p/r/s paper 5, invert and delete excess paper. Expand by 4, add new raster layer & flood fill with #a22900. Apply Add Noise Effect with these settings: 35, uniform & monochrome checked. Highlight "#6" layer, c/p/r/s paper 10, invert & delete excess paper. Expand by 6, add new raster layer & flood fill with #a22900. Apply Add Noise Effect with these settings: 35, uniform & monochrome checked.
Open your tube, c/p and move above "#5" paper layer, invert and delete excess tube. Change blend option to Luminance (Legacy) and transparency to 55. Re-paste your tube layer and move above "#6" paper layer, place where you like. Open all elements, c/p/r/s and place where you like. Highlight "#7" layer, new raster layer and flood fill with #3d3c27, add/remove noise effect with these settings: 55, uniform and monochrome checked.
Now add your name & copyrights and then save and your done!
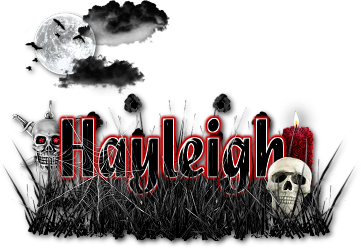
This tutorial was written on 12/25/13 by Ruinations By Hayleigh. Any resemblance to another tutorial is purely coincidental. Tutorials written assuming you have previous knowledge of PSP.
Subscribe to:
Post Comments
(Atom)
About Me

- Hayleigh
- Oklahoma
- I'm a 30 year old SAHM to 3 adorable boys and newlywed to a wonderful husband. I've been using PSP for 9 years.
CU Licenses
Stamps

0 comments:
Post a Comment