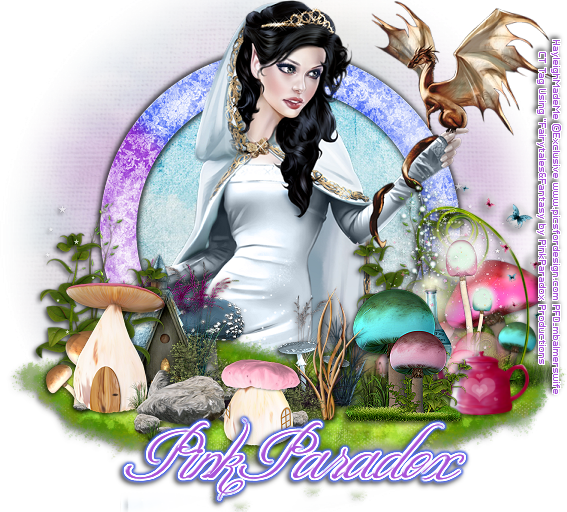
My Licenses
MPT11646
CDO-4348
EAS14199
KG2666
PFD_mbalmerswife
PFD_6113
PTE0504
IRH3762A
SW5738
toosh2511
BHS-30
VMT_mbalmerswife
CI-4978-LM
SATC4343
AC1364
ZZT3579
C1018P
Powered by Blogger.
My Avatars (DO NOT SNAG)



Friday, December 27, 2013
FTU Cluster Frame "Happy Holidays" PinkParadox Productions
It's a beautiful kit for FREE!! Get it while it's still available. Here's a preview of the cluster frame I made and a tag made using it:
Download this cluster frame by clicking HERE!
Thursday, December 26, 2013
PTU Tutorial "Naughty Girl" Artwork ©Celinart Pinup
Supplies Needed
- Paint Shop Pro (I use PSP X3 but any version will work)
- Tube of Choice (I used "Viorotica" & "Vanessa Lake" by Celinart Pinup. This tube may not be used without proper license. Find the tube at Celinart Pinup)
-Template: Template#5 by me; find this template on my blog HERE.
- Kit: "Naughty Girl Christmas" by PinkParadox Productions. This kit is a PTU kit, please do NOT share it.
- Plugins Used: Xero - Fritillary, Penta.com - Dot & Cross, Xero - Soft Vignette
- Mask: WSL_Mask58. This can be found HERE.
- Font of Choice (I used Precious)
- Elements: 1, 5, 7, 13, 14, 15, 16, 21, 24, 26, 30, 33, 38, 45, 78, 86, 107, 128, 130, 131, 157
- Papers: 3, 15, 18, 19, 22, 23, 34
All elements may need to be resized & sharpened to your liking. Please add a dropshadow of your choosing to each element as you go. Some abbreviations I use in this tutorials are c/p/r/s (copy & paste, resize & sharpen).
Open up your template and press CTRL + D to duplicate and close the original. Delete the credit layer of the template. Highlight the "background" layer and c/p/r/s paper 2, deleting any excess paper. Expand by 4 and flood fill with #000000. Add Noise Effect with these settings: 30, Gaussian & Monochrome checked. Deselect and do the same for #2 using the same paper 2. Do the same for layer #3 except use paper 23.
Next highlight layer #4, add a new raster layer and flood fill with #5d4472. Effects - Plugins - Xero - Soft Vignette with these settings: horizontal, background color, 19, -21, 17, 255. Do the same for layer #5. Next highlight layer #5 - Frame, add a new raster layer and flood fill with #000000. Add same noise settings used earlier. Highlight frame #6, c/p/r/s paper 15, deleting any excess paper.
For layers #7 & #8 c/p/r/s paper 35 arranging it so only the pink is visible. Delete excess paper. Open up a closeup copy of your chosen tube artist and place on top of paper layer making sure the face is inside the box; delete excess tube layer and mirror to the other side. For the blend mode of the tube layer use Luminace (L) and change the opacity to 55. Highlight the paper layer and use your blinds effect at these settings: 3, 61, color-white, both boxes checked.
For the frame layers of 7 & 8 add new raster layer and flood fill with #000000 and add previous noise settings. Highlight layer #9 c/p/r/s paper 19, delete excess paper. Paste your main tube and resize so the head is not too much higher the back circle layers. Open up all elements, c/p/r/s them and place where you like, using my example for reference. Elements 5, 7 & 86 were duplicated & mirrored and placed on the opposite side.
For the mask I used paper 18 for the outside circles and paper 34 (larger than the other two) for the middle circle.
Now add your name & copyrights and then save and your done!
This tutorial was written on 12/26/13 by Ruinations By Hayleigh. Any resemblance to another tutorial is purely coincidental. Tutorials written assuming you have previous knowledge of PSP.
Wednesday, December 25, 2013
PTU Tutorial "Green Eyes" ©Trinita
Supplies Needed
- Paint Shop Pro (I use PSP X3 but any version will work)
- Tube of Choice (I used "Green Eyes" by Trinita. This tube may not be used without proper license. Find the tube at PicsforDesign.)
-Template 05mpmFBTL by Millie; find all of her wonderful templates HERE.
- Kit: "Winter Fun" by Hania's Designs. This kit is a PTU kit, please do NOT share it.
- Plugins Used: Xero - Fritillary, Penta.com - Dot & Cross
- Font of Choice (I used Plaster of Paris)
- Elements: 3, 16, 21, 25, 30, 32, 48, 64, 79 & 91 - Papers: 3, 4, 5, 7 & 10
All elements may need to be resized & sharpened to your liking. Please add a dropshadow of your choosing to each element as you go. Some abbreviations I use in this tutorials are c/p/r/s (copy & paste, resize & sharpen).
Open up your template and press CTRL + D to duplicate and close the original. Delete the credit layer of the template. Highlight the "background" layer and c/p/r/s paper 10, deleting any excess paper. Highlight "#1" layer, c/p/r/s paper 7, invert and delete any excess paper. Highlight "#2" layer, c/p/r/s paper 4, invert and delete excess paper. Apply Dot & Cross with these settings: 255, 10, 7. Highlight "#3" layer, c/p/r/s paper 3, invert and delete excess paper. Apply Xero - Fritillary with the following settings: 7, 121, 32, 78. Expand by 4, add new raster layer & flood fill with #a22900. Apply Add Noise Effect with these settings: 35, uniform & monochrome checked.
Highlight "#4" layer and repeat steps for #3 layer. Highlight "#5" layer c/p/r/s paper 5, invert and delete excess paper. Expand by 4, add new raster layer & flood fill with #a22900. Apply Add Noise Effect with these settings: 35, uniform & monochrome checked. Highlight "#6" layer, c/p/r/s paper 10, invert & delete excess paper. Expand by 6, add new raster layer & flood fill with #a22900. Apply Add Noise Effect with these settings: 35, uniform & monochrome checked.
Open your tube, c/p and move above "#5" paper layer, invert and delete excess tube. Change blend option to Luminance (Legacy) and transparency to 55. Re-paste your tube layer and move above "#6" paper layer, place where you like. Open all elements, c/p/r/s and place where you like. Highlight "#7" layer, new raster layer and flood fill with #3d3c27, add/remove noise effect with these settings: 55, uniform and monochrome checked.
Now add your name & copyrights and then save and your done!
This tutorial was written on 12/25/13 by Ruinations By Hayleigh. Any resemblance to another tutorial is purely coincidental. Tutorials written assuming you have previous knowledge of PSP.

Tuesday, December 24, 2013
Template #5
Awesome new template for you today! Happy Holidays!!
Click HERE to download from box.
Tag made using this template:

Monday, December 23, 2013
Template #4
Click HERE to download from box.
Preview of a tag using this template:

Tuesday, December 17, 2013
PTU Tutorial "Winter Angel"
Supplies Needed
- Paint Shop Pro (I use PSP X3 but any version will work)
- Tube of Choice (I used "Snow White" by Trinita. This tube may not be used without proper license. Find the tube at PicsforDesign.)
Kit - "Winter Angel" by PinkParadox Productions. This kit is a PTU kit, please do NOT share it.
- Mask of Choice (I used WSL_mask52 by weescotslass)
- Font of Choice (I used Plaster of Paris)
- Elements: 4, 6, 8, 10, 14, 30, 36, 39, 50, 57, 63, 76, 85, - Frame: 7 - Papers: 8, 22
All elements may need to be resized & sharpened to your liking. Please add a dropshadow of your choosing to each element as you go.
Open up a new canvas (I use 700x800 with a transparent background). Copy/paste frame 7, then copy/paste paper 8. Move the paper below the frame layer and delete any excess paper showing outside the frame. Copy/paste your tube above the frame layer and place to the left of your frame.
Copy/paste the elements listed above and arrange them how you like. For the snow I took element 63, duplicated it, mirrored it and then took my eraser and erased the mailbox & grass then duplicated it again and placed it in the center. You may use my example as a reference. Copy/paste paper 22 and apply your mask, resizing until it shows just outside the frame layer.
Now add your name & copyrights and then save and your done!
This tutorial was written on 12/17/13 by Ruinations By Hayleigh. Any resemblance to another tutorial is purely coincidental. Tutorials written assuming you have previous knowledge of PSP.

Sunday, December 15, 2013
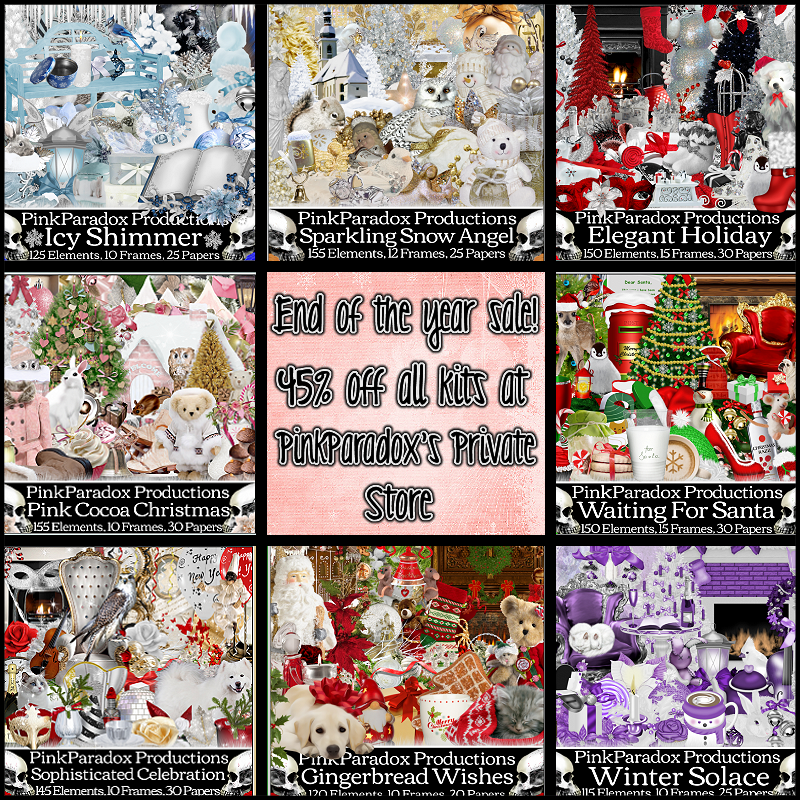
**SALE** PinkParadox Productions 45% Off!
*click on the image to see it fullsize*
Great news! PinkParadox Productions is having an end of the year sale on everything! Kits/cluster frames/CU...everything she has to offer is 45% off until January 1st! Check out all of her amazing designs by clicking HERE. Stock up on kits, cluster frames and anything else!

Saturday, December 14, 2013
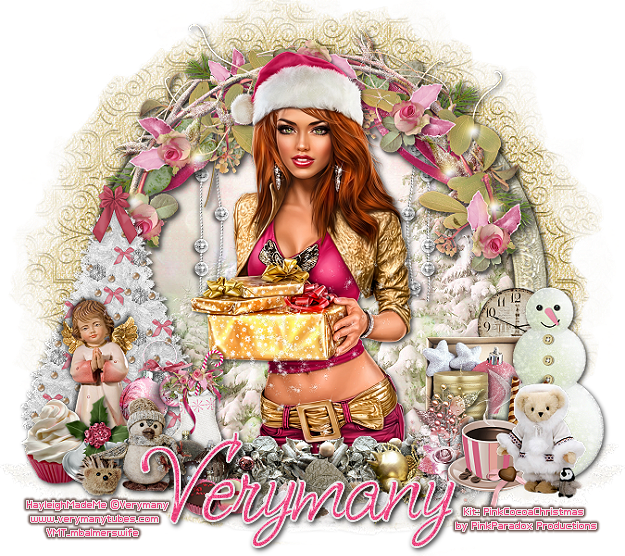
CT Tag "Pink Cocoa Christmas"
Kit: "Pink Cocoa Christmas" by PinkParadox Productions - This kit is gorgeous; make sure you have some chocoloate nearby when you work with this kit. It's filled with lots of cocoa and Christmas and winter elements. It has 155 elements, 10 frames & 30 papers and has shades of pink, brown & white. Plus all of PinkParadox's kits/cluster frames are 35% off for the month of December so get it while it's on sale. Here's a kit preview:
Tube: "Xmas Present" by ©Verymany - This tube is beautiful and is perfect for all of your winter/Christmas kits. It comes with 4 different color options, an awesome closeup & the hat is on a separate layer. Plus for today only, this tube is 30% off but the sale won't last long so get it while you can. Here's a preview of the tube:

FTU Cluster Frame "Dirty Mechanic"
Friday, December 13, 2013
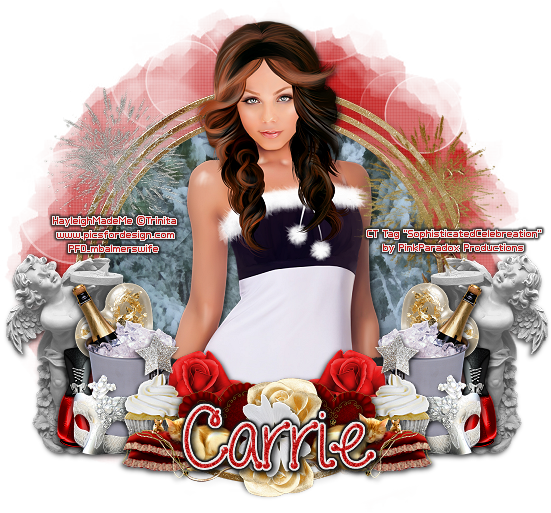
PTU Tutorial "Sophisticated Celebration"
Supplies Needed
- Paint Shop Pro (I use PSP X3 but any version will work)
- Tube of Choice (I used "Bella" by Trinita. This tube may not be used without proper license. Find the tube at PicsforDesign.)
Kit - "Sophisticated Celebration" by PinkParadox Productions. This kit is a PTU kit, please do NOT share it.
- Mask of Choice (I used WSL_mask219 by weescotslass)
- Font of Choice (I used love & laughter)
- Elements: 1, 6, 16, 18, 22, 28, 61, 94, 96, 99, 127, 128 - Frame: 5 - Papers: 1, 27
All elements may need to be resized & sharpened to your liking. Please add a dropshadow of your choosing to each element as you go.
Open up a new canvas (I use 700x800 with a transparent background). Copy/paste frame 5, then copy/paste paper 1. Move the paper below the frame layer and delete any excess paper showing outside the frame. Copy/paste your tube above the frame layer.
Copy/paste the elements listed above and arrange them how you like. You may use my example as a reference. I mirrored all elements and placed elements 94& 99 in the center. Copy/paste paper 27 and apply your mask, resizing until it shows just outside the frame layer.
Now add your name & copyrights and then save and your done!
-

Thursday, October 24, 2013
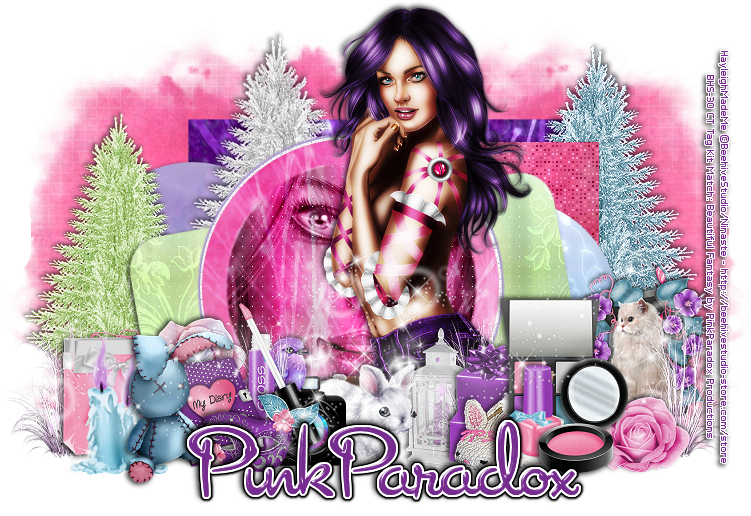
CT Tag "Beautiful Fantasy"
I have a really awesome kit and tube to show you guys today! First, the kit. This kit is called "Beautiful Fantasy" and it is by the fantastic PinkParadox Productions! It has so many possibilities! Fantasy/winter/fairytale/girly...the possibilities are endless. With gorgeous shades of pink, blue, green and purple it matches well with many tubes! It has a massive 135 elements, 15 frames and 30 papers! Also right now ALL of PinkParadox's kits are 40% off so get it while it's on sale and the price is low! The tube I used in the tag is called Harvest Angel by the wonderful Ninaste. This tube has several different layers including a winter, BCA, Halloween, girl next door and sexy...the layer I used is just a taste of what you get when you purchase this tube! Find the kit HERE and the tube HERE!

Wednesday, October 16, 2013
CT Tag "BCA - A Girl's Heart"
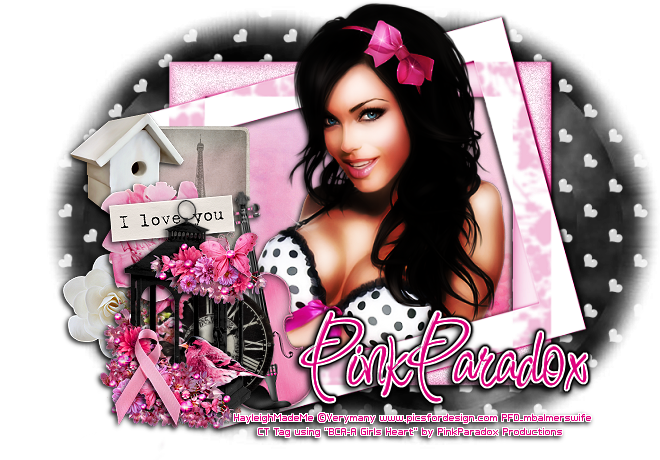
Today, in honor of Breast Cancer Awareness Month, I have an awesome kit to show you. This kit is in honor of all the ladies out there that have suffered through breast cancer or anyone who has known someone with breast cancer. It's called "BCA - A Girl's Heart" and is available now for purchase at PinkParadox Productions private store. The tube used in the show-off tag I made is "Betsy" by Verymany and is available at PicsforDesign now. As a bonus, buy this kit and 50% of the proceeds from the kit will be donated to the National Breast Cancer Foundation. Pick up the kit HERE and the tube HERE!

Monday, October 14, 2013
CT Tag "Toxic"
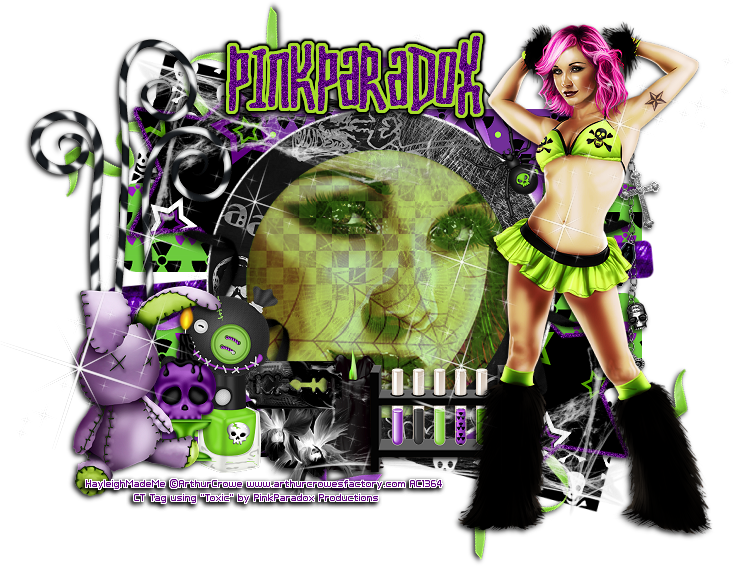
I have something awesome to show you guys! It's a kit that is coming soon to PinkParadox Productions private store called "Toxic" This kit is huge and full of so many fun elements perfect for tagging! Featured in this tag is just a taste of those amazing elements. I used "Party Skull" by Arthur Crowe in the above show-off tag. Pick up the kit HERE when it's released and the tube HERE!

Sunday, October 6, 2013
CT Tag "Love Kills Slowly"
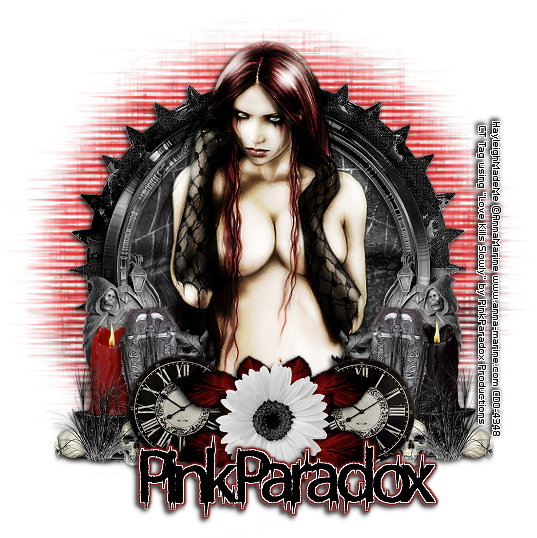
Hey! I have an awesome kit to show you today. It's called "Love Kills Slowly" by PinkParadox Productions and is a dark kit featuring hues of red, gray & white. The kit contains 130 elements, 15 frames & 25 papers. As a bonus, all of PinkParadox's kits are 25% off for the month of October so now is the perfect time to go purchase this one! Pick up the kit HERE and the tube used in this tag HERE. Tag artwork ©Anna Marine.

CT Tag "Biker Princess"
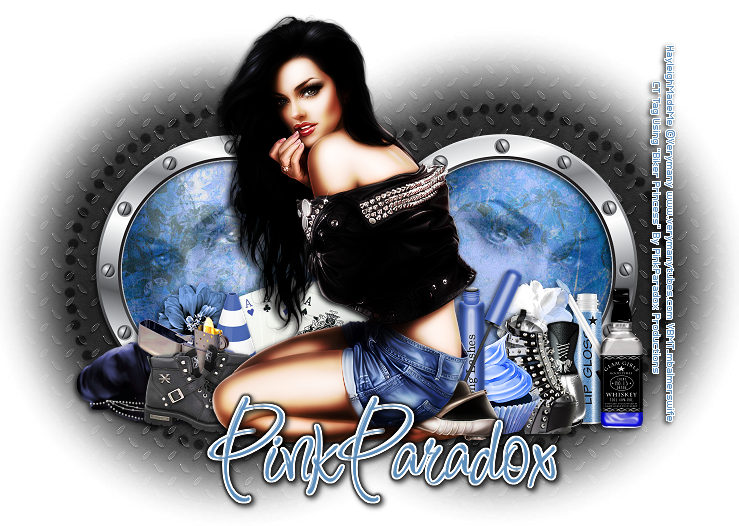
Today I have an awesome kit for you to check out! It's called "Biker Princess" and is by the wonderful PinkParadox Productions. It's a perfect match to Verymany's new tube "Ashley" which is featured in the tag I have made. It matches well with many other tubes as well. With beautiful hues of blue and black, containing 110 elements, 15 frames & 25 papers. It's available now for purchase (and also on a limited time only sale of 25% off!!!) at PinkParadox's private store. Find the kit for sale HERE and the tube for purchase HERE!

Wednesday, October 2, 2013
CT Tag "Fairytales & Fantasy"
Hey! I have a spectacular kit to show you today! It is made by PinkParadox Productions and is called "Fairytales & Fantasy." It is a magical kit, containing 130 elements, 15 frames & 25 papers, and is perfect for fairy/sparkle/fantasy tags. The tube I used in the show-off tag above is a PicsForDesign Exclusive tube. PinkParadox's kits are also on sale right now so head over to the store to check everything out! Kit can be found HERE & the tube is available HERE.

Wednesday, September 25, 2013
CT Tag #2 "Shy Seduction"
Here's CT tag #2 with the awesome "Shy Seduction" kit by PinkParadox Productions! This kit was made to match Verymany tube "Christine" but in this tag I have used Verymany's "Penny" tube. It matches other tubes so beautifully! Pick this kit up HERE, the matching tube HERE & the tube used in this tag HERE!
Here's a preview of the kit:

Subscribe to:
Comments
(Atom)
About Me

- Hayleigh
- Oklahoma
- I'm a 30 year old SAHM to 3 adorable boys and newlywed to a wonderful husband. I've been using PSP for 9 years.
TOU
All of my tutorials, tags & cluster freebies are from my own imagination. Any resemblance to other tutorials is purely coincidental. If using a cluster freebie for a challenge, please link back to my blog to download; and if you download anything be sure to leave love so I know someone's using them =)
Search
Blog Archive
-
▼
2013
(85)
-
▼
December
(10)
- FTU Cluster Frame "Happy Holidays" PinkParadox Pro...
- PTU Tutorial "Naughty Girl" Artwork ©Celinart Pinup
- PTU Tutorial "Green Eyes" ©Trinita
- Template #5
- Template #4
- PTU Tutorial "Winter Angel"
- **SALE** PinkParadox Productions 45% Off!
- CT Tag "Pink Cocoa Christmas"
- FTU Cluster Frame "Dirty Mechanic"
- PTU Tutorial "Sophisticated Celebration"
-
▼
December
(10)
Labels
- Alehandra_Vanhek (1)
- Alex Prihodko (6)
- Amy Matthews (2)
- Anna Marine (2)
- Arthur Crowe (5)
- Barbara Jensen (1)
- Blog Layouts (1)
- Celinart (5)
- Célinart (8)
- Cluster Frame (11)
- Cluster Set (1)
- Crazy Babbelstubb (1)
- CT (90)
- DesignsBySarah (5)
- Di_Halim (2)
- Elias Chatzoudis (4)
- Ellie_Milk (2)
- Exclusive (1)
- Freebie (8)
- FTU (13)
- FTU kit (1)
- Halloween (1)
- How To (1)
- Jackie's Jewels (8)
- Jose Cano (2)
- Keith Garvey (2)
- My kits (3)
- New Releases (1)
- Ninaste (3)
- Peaches Blogtrain (1)
- PicsForDesign (4)
- PimpinPSPers Warehouse (6)
- PinkParadox (50)
- PinkParadox Productions Store (45)
- PSP Help (1)
- PSP Tut (3)
- PTU (55)
- PTU Tut (28)
- Request (2)
- Sale (6)
- Showoff (59)
- Snags (5)
- Tag Showoff (7)
- Template (4)
- Trinita (6)
- Tutorial (8)
- Verymany (14)
- Verymany match (3)
- Zlata Ma (1)
Chat With Me!
Stamps


