I CT For


Check 'Em!


My Blinkies!

Peaches Blog Train!

My Avatars (DO NOT SNAG)


Friday, January 31, 2014
*How To* Record and Run a Name Script
Today I will be showing you how I record and run a name script. First complete the tag you want to put the name on. I will be using the tag below as an example:

Next, select your text tool and choose the font, size & color you want the font to be. I am using "Rock It" font with size of 40 & the color is black. It will automatically be placed on the canvas as a vector layer. Once you've moved it where you want it to be, right click on the name layer in the layer palette and Convert to a Raster Layer.
Before we begin recording make sure your script toolbar is visible on your screen and placed where you like it. You can find that toolbar by going to View -> Toolbars and clicking on Script. I've placed mine here:

Also before we begin recording here a few tips: don't record if you plan on using the flood-fill tool. I've never gotten this to work properly for me...I would suggest using gradient glow instead. Also don't worry about making any mistakes...any undone steps will not be included in the final script.
If you're ready to start recording, go ahead and click on those double arrows at the end of the script toolbar and click on Start Script Recording. Anything you do from now until you click Save Script Recording will be recorded. First I am going to use the Eye Candy 4000 Glass plugin.

Next I will use Eye Candy 4000 Gradient Glow. (All of your current settings that are being used will be saved, you will not need to re-adjust even after changing them to something different).

Once you've done everything you want with the name and it's like you want the name to look like everytime you run the script, go ahead and click on those two little arrows like we did before on the script toolbar and click on Save Script Recording. Name your script, make sure you save it to your Restricted Scripts folder and click save.
When you want to run this script make sure you follow the same steps (type out the name, convert to a raster layer) then click on the drop down menu on your script toolbar, select the script you want to use and then click the play button (blue arrow). The script will stop at times when you have to press okay and you can change your settings if needed. Otherwise just click enter and watch the magic happen!
I hope this helps someone! If you have further questions, don't hesitate to contact me (mbalmerswifetuts@gmail.com)!
This tutorial was written by me, Ruinations by Hayleigh, on Jan 31, 2014. Any resemblance to another tut is strictly coincidental. Please do not claim this tutorial as your own!

Sunday, January 26, 2014
CT Tag Show-off "Romantic Mix & Match Bundle" by PinkParadox Productions
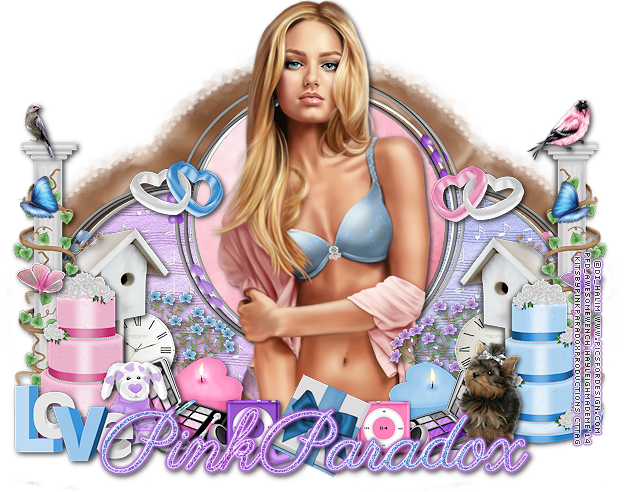
I have an AWESOME kit bundle to show you today! It's the "Romantic Mix & Match Bundle" and is on sale now for 20% off making it only $4.40. It's three beautiful girly, love, elegant kits in blue, pink & purple. You are getting a fabulous deal. Each kit has 110 elements, 15 frames & 25 papers...imagine the endless possibilities with this bundle! Preview is below (purchase links below the preview):

CT PTU Tutorial "Beautifully Broken" by PinkParadox Productions & "Sabina" by ©Célinart
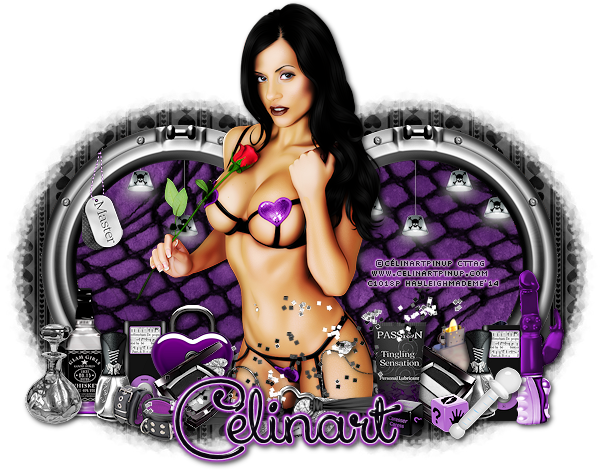
Supplies Needed:
Photo Editing Software - I am using Paint Shop Pro X3 but any version will work.
Kit: "Beautifully Broken" by PinkParadox Productions. This is a PTU kit; please DO NOT share!
Tube: "Sabina" by ©Célinart Pinup. This is a PTU tube; do NOT use without proper license.
Mask: "WSL_Mask196" by weescotslass. Find her great masks HERE.
Elements: 1, 6, 8, 11, 16, 23, 28, 37, 49, 55, 69, 71, 74, 91, 130, 135 Frame: 4 Papers: 17, 19
Abbreviations used in this tutorial: C/P/R/S - copy/paste/resize/sharpen.
Let's get started!
Open up a new canvas (600x600, transparent checked); C/P/R/S paper 17 & apply the mask above or any mask of choice. Duplicate and move side by side. Now open your frame, C/P/R/S above the mask layer, duplicate and move side by side positioning so the mask shows outside the frames. Add desired dropshadow (I always use 2, 2, 75, 6.99 color black).
Now open up your elements; C/P/R/S and place where desired, using my tag for examples. I duplicated & mirrored elements: 1, 8 & 37. Add desired dropshadow to all elements. Add name & copyrights and then you're done!
This tutorial was written by me, Ruinations By Hayleigh, on January 26, 2013 from my own imagination. Any resemblance to another tutorial is purely coincidental. Please do not claim this tutorial as your own.
Thursday, January 23, 2014
CT Tag Show-off "Romantic Pink" PinkParadox Productions

I have a beautiful new kit to show you today. It's called "Romantic Pink" by PinkParadox Productions and is part of a Romantic Mix & Match Color Bundle. This is the pink part; there is a blue & also a purple Romantic kit. The pink kit has 110 elements, 15 frames & 25 frames and includes pink, brown & white. Right now it's on sale for 20% off until the end of January so go & get it (and the bundle) before the sale ends! (Purchase information BELOW the kit preview). I paired the pink kit with ©Verymany's "Megan" tube.

Sunday, January 19, 2014
CT PTU Tutorial "Flirty Love" PinkParadox Productions & ©Célinart Pinup
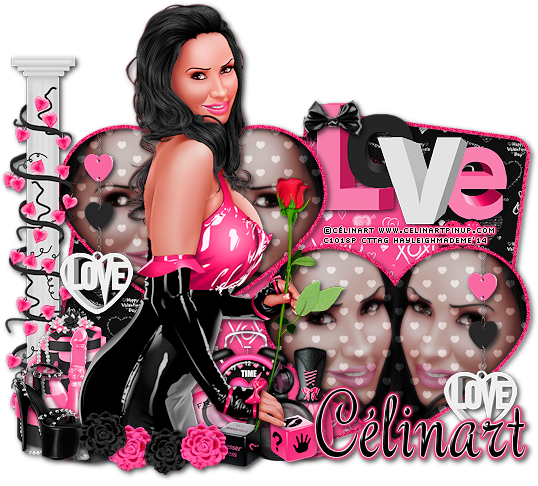
Supplies Needed:
Photo Editing Software: I am using Paint Shop Pro X3 but any version/program will work.
Kit: "Flirty Love" by PinkParadox Productions; this is a PTU kit, please do NOT share.
Tube: "Bianca Valentine" by ©Célinart Pinup; this is a PTU tube, do not use without proper license.
Template: "484mpm" by Millie. Find all of her great templates HERE.
Plugins: Xero - Fritillary
Elements: 12, 13, 20, 21, 22, 23, 49, 68, 77, 83, 84, 90, 92, 97 Papers: 9, 10, 18, 30
Abbreviations used in this tutorial: C/P/R/S - copy/paste/resize/sharpen.
Let's get started!
Open up your template, SHIFT + D to duplicate and then close out the original. Close out or delete layers "12, 11, 10, 9, cr, 7 & 6", we won't be using them. Highlight layer "1"; C/P/R/S paper 9, erasing any excess paper. Selections -> Select All -> Float -> Defloat; add new raster layer, Selections -> Modify -> Set Selection Border with these settings: Outside, size 4. Flood fill selection with #fa2871, add a noise setting of 40, Uniform & monochrome checked. Add a dropshadow of choice. Repeat the last steps for layer "2".
Highlight layer "3"; C/P/R/S paper 18, erasing any excess paper. Selections -> Select All -> Float -> Defloat; add new raster layer, Selections -> Modify -> Set Selection Border with these settings: Outside, size 4. Flood fill selection with a gradient made using #fa2871 & #000000. Add a noise setting of 60 and dropshadow of choice.
Highlight layer "4"; C/P/R/S paper 10, erasing any excess paper. Selections -> Select All -> Float -> Defloat; add new raster layer, Selections -> Modify -> Set Selection Border with these settings: Outside, size 4. Flood fill selection with #fa2871, add a noise setting of 40, Uniform & monochrome checked. Add a dropshadow of choice. Repeat the last steps for layer "5".
Highlight layer "8"; Selections -> Select All -> Float -> Defloat; add new raster layer, flood fill heart with #fa2871 and apply Xero - Fritillary with the following settings: 4, 30, 36, 167. Do the same for layer "9" except floodfill using #000000 instead of the pink. Add dropshadow of choice to both layers. Open your tube and C/P/R/S where desired. I duplicated my tube layer three times, moved them above the paper layer for layers "4" and changed the blend effects.
Now open up your elements, C/P/R/S them all onto your canvas and arrange as desired. I took elements 90 & 92, duplicated them and arranged them around the bottom of my tube. Now just add your name & copyright and your done! Please feel free to send me any creations you make using this tutorial to mbalmerswifetuts@gmail.com!
This tutorial was written by my, Ruinations By Hayleigh on January 19, 2014 using my own imagination. Any resemblance to another tutorial is purely coincidental. Tutorial was written assuming you have working knowledge of Paint Shop Pro. Please do not claim this tutorial as your own!
Wednesday, January 15, 2014
CT Tag Show-off "Hot To Handle" PinkParadox Productions & ©Verymany
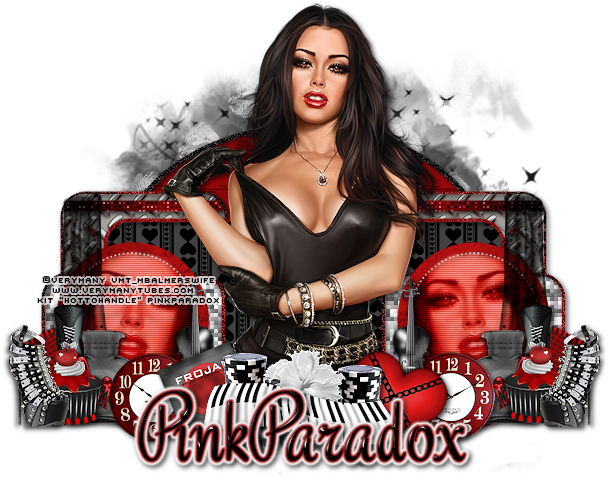
**purchase links for both the kit and tube found below the kit preview**
I have a VERY hot kit and tube to show you today! The kit is called "Hot To Handle" by PinkParadox Productions and is a match for "Mercy" tube by ©Verymany. It is 115 elements, 10 frames & 20 papers and contains elements in shades of red, white & black. It has naughty and nice elements, perfect for any kind of tag. =) Here's a preview of the kit:

Monday, January 13, 2014
4 New Kit Releases from PinkParadox Productions!

I have 4 new awesome new releases to show you from PinkParadox Productions! PLUS right now ALL of PinkParadox's kits & cluster frames are 20% off so get them before January ends! (click on the kit names to go to purchase page)
Chocolate Wine - 110 elements, 15 frames & 30 papers; match to ©Verymany's "Gillian" tube. It's a GREAT kit with beautiful colors!
Passionate Romance - 105 elements, 10 frames, 25 papers; match to ©Trinita's "Girlfriend" tube. Beautiful kit with shades of red, black & white.
Valentina - 135 elements, 14 frames, 27 papers; match to ©Verymany's "Valentina" tube. This kit has a match for every color layer "Valentina" has (that's 6 color layers)!
Flirty Love - 105 elements, 12 frames, 30 papers; match to Célinart Pinup's "Bianca Valentine" tube. Awesome shades of pink, white & black!
If you'd like to check out EVERYTHING PinkParadox Productions has to offer during this sale click HERE to be taken to her private store page!
Subscribe to:
Posts
(Atom)
About Me

- Hayleigh
- Oklahoma
- I'm a 30 year old SAHM to 3 adorable boys and newlywed to a wonderful husband. I've been using PSP for 9 years.
CU Licenses

Stamps
